
Washing Machine Hose Replacement Checklist: Size, Valves & Clearance
Replacing washer hoses is a small project with several important fit checks. Length alone is not enough: the wall valves, appliance inlets, thread condition, sealing washers, bend radius, elbow direction, and space behind the machine all affect whether the finished connection sits relaxed and remains inspectable.
Quick answer
Measure the routed distance from each valve to its matching appliance inlet, confirm standard washing-machine hose-thread connections, and choose a length that reaches without pulling, kinking, or forming a bulky coil. Close serviceable valves before removal, use fresh hose washers, hand-start threads, and leak-check the connections before returning the washer to position.
Who this guide is for
This checklist is for homeowners planning routine hose replacement or preparing for a new washer installation. It helps organize measurements and identify conditions that should be repaired first. People facing seized valves, corroded fittings, nonstandard adapters, inaccessible hookups, or water already leaking should pause and arrange professional service instead of treating the job as a simple accessory swap.
How we evaluated the fit
Guidance is based on connection type, stated hose length and construction, routing geometry, appliance clearance, thread and valve condition, and normal post-installation checks. It does not claim hands-on testing of a particular hose or set a universal replacement interval; current appliance, hose, and local installation requirements control.
Three checks that matter first
Use these checkpoints to narrow the field before comparing individual models.
Measure the route, not the gap
A straight-line measurement ignores bends, valve orientation, and the approach to the appliance inlet. Follow the path each hose will actually take and allow gentle movement without leaving so much extra length that the hose becomes crushed or tangled.
Inspect valves before buying hoses
New hoses cannot correct a valve that seeps at the stem, will not close, or has damaged threads. Identify those problems while the washer is still in service so the plumbing repair can be planned before disconnection.
Choose elbow orientation deliberately
An elbow can reduce how far a hose projects from an inlet, but only when it points into a clear routing path. Compare the washer's inlet layout, cabinet depth, and hose direction before assuming an angled end is better.
Record connection and condition details
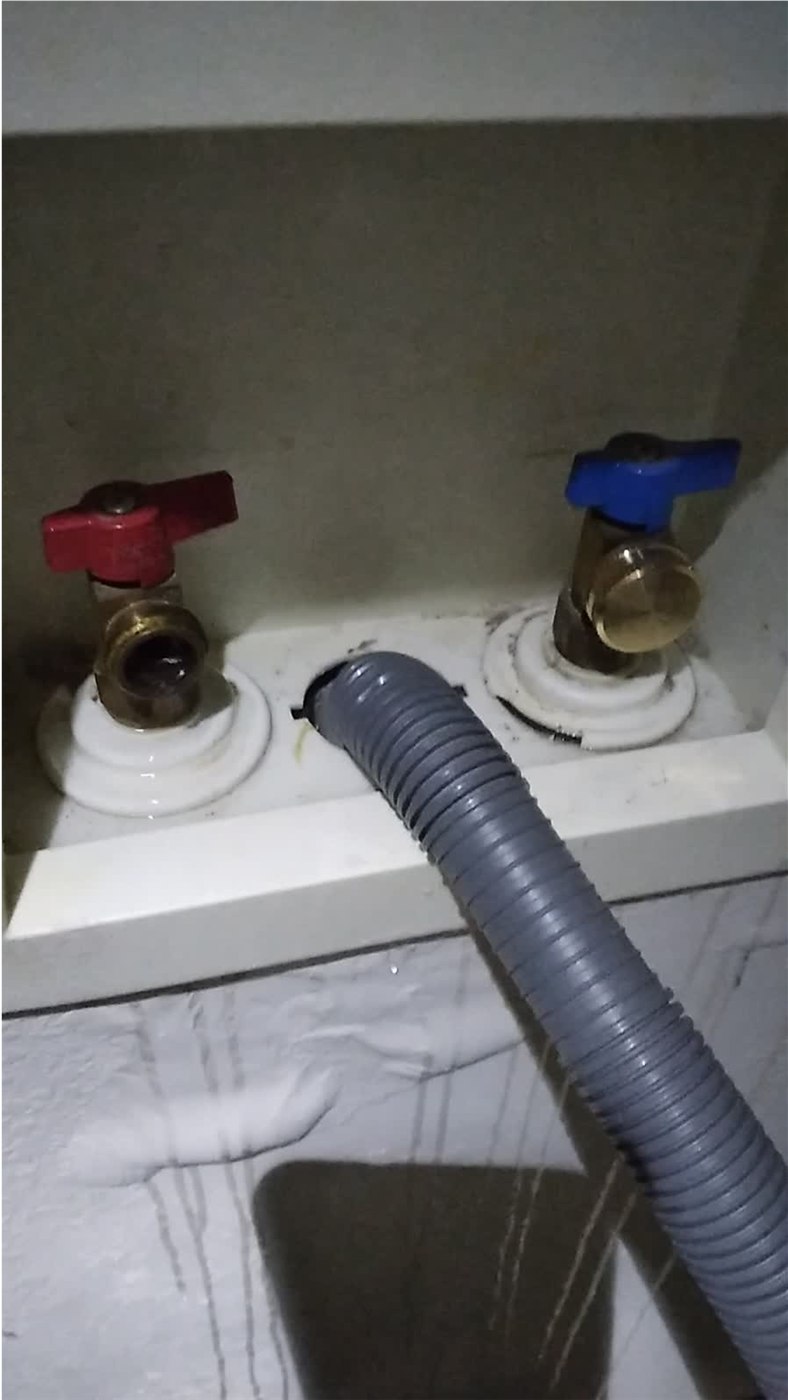
Pull the washer forward only with safe handling and enough help for its weight and flooring. Photograph the existing hot and cold routes, note which wall valve serves each inlet, and inspect for dampness, mineral buildup, rust, abrasion, bulging, or sharp bends. Standard washer hookups commonly use three-quarter-inch female hose-thread ends, but do not rely on convention when the actual appliance, adapter, or valve can be checked. Record any unusual fitting before selecting replacements.
Operate the supply valves only as needed to learn whether they close normally. Do not force a stiff handle. A valve that leaks around its stem, continues passing water when closed, or shifts in the wall needs attention before the hose is removed. Inspect the appliance inlet threads and surrounding plastic for damage. If a prior installer stacked adapters, used mismatched threads, or applied sealant where a flat hose washer should make the seal, a plumber can restore a more dependable connection.
Measure length and clearance
Measure from the hot valve to the hot inlet and from the cold valve to the cold inlet along separate intended paths. Include the rise or drop from the valve box, the turn toward the machine, and the space needed for a relaxed curve. Hoses should not carry the appliance's movement as tension at the fittings. Avoid a length that requires a tight loop behind the washer, where vibration can create rubbing or a hose can be pinched when the machine is pushed back.
Check total rear clearance with the drain hose, power cord, venting if applicable, and water hoses all in place. An elbowed appliance end can preserve depth, yet the bend must not collide with the neighboring inlet or point toward a wall. Confirm the selected set includes the expected number of hoses and sealing washers. If a drain pan is present, make sure the appliance and hoses can be positioned without damaging its edge or blocking the drain route.
Install, restore water, and verify
With the appropriate valves fully closed and pressure relieved according to the appliance instructions, remove one hose at a time so hot and cold do not become confused. Clean accessible mating surfaces without damaging threads. Seat the new washer squarely, then hand-start each connection for several turns. A fitting that resists immediately may be cross-threaded. Tighten only as directed by the hose and appliance guidance; excessive force can deform washers or damage valve and inlet threads.
Open the valves gradually and inspect every connection with a dry towel or tissue. Watch during filling and draining, then recheck after the washer has completed a cycle. Return the appliance to position without crushing hoses and look again. Record the installation date, keep the valves accessible, and inspect periodically. A successful first check does not eliminate future maintenance, especially after the machine has vibrated or been moved.
Confirm the connector and washer instructions
Confirm the listed connector against Eastman's official washing-machine connector page and 41065 specification sheet. Then follow the installation manual for your exact washer; the current Whirlpool inlet-hose instructions show why new flat washers, correct hot/cold routing, careful tightening, and a final leak check matter. If the connector packaging or your washer manual differs, those instructions control.
Options that fit this decision
These links lead to current Amazon listings. Verify the exact model and installation requirements before ordering.

Eastman 5-foot Braided Washing Machine Hoses
This two-pack is described as five-foot braided stainless-steel washer connectors with three-quarter-inch female hose-thread ends and elbows. Those specifications can suit a common hot-and-cold hookup when the measured routes and inlet direction match. The braid and elbow are selection features, not substitutes for sound valves, undamaged threads, correctly seated washers, and periodic inspection.
- Check first
- Measure both routed lengths, verify three-quarter-inch hose-thread compatibility, and confirm each elbow can turn into open space without touching the wall or the other connection.
- Best for
- A conventional washer hookup that benefits from a five-foot reach and lower-profile elbowed appliance ends.
- Skip if
- The installation needs a different length, straight ends, nonstandard adapters, or valve and inlet repairs before a hose can be safely attached.
Frequently asked questions
Is a five-foot washer hose the right length for every machine?
No. It is right only when the actual route reaches without tension, tight bending, pinching, or excessive looping. Measure each hot and cold path before buying.
Do washing machine hose threads need sealing tape?
Washer hose connections normally seal with a flat washer rather than at the threads. Follow the product and appliance instructions; tape should not be used to hide damaged parts or a missing washer.
Can I reuse the old hose washers?
Use the sealing components specified with the new connectors. Old washers may be compressed, hardened, or damaged, so reusing them can undermine an otherwise sound installation.